Saturday, July 07, 2012

in search of the perfect grain-free birthday dessert: ice cream sandwiches

My third variation on a birthday cake recipe takes the classic birthday dessert plate of cake and ice cream together in a fun, tasty, refreshing treat: ice cream sandwiches. There is something both comforting and nostalgic about biting into a triple-layer of soft chocolate and ice cold cream. The goodness of these little birthday desserts is that they are grain and dairy free.

I couldn't decide between ice cream flavors, so I went ahead and used both mint chip and chocolate peanut butter. My distinguished panel of tasters (hi, family!) thought both were delicious and had a hard time selecting a favorite. Chocolate lovers tend to prefer the sandwiches containing chocolate peanut butter ice cream, but believe me that both hit the spot on a warm day.


I envisioned taking these cute cupcake-sized desserts on a fourth of July picnic. With my sweet girl, we created a sweet and sunny picnic in our backyard. It was a treat for both of us to get dressed up, put on some red lipstick, and sample the goodies. 

We packed up our suitcase with sweets and headed outside.


For a little girl who usually doesn't love posing for the camera, it was fun to see her get into character and even more fun to apply mascara and lipstick (her first time). I can see many more photo shoots in her future!


And if bite-sized isn't big enough when your birthday rolls around, then go ahead and make a gigantic ice cream sandwich in a cake pan! Why not?!


*********

Ice Cream Sandwiches (really just chocolate cupcakes with ice cream sandwiched between layers!)
makes 16 sandwiches


3 1/2 C. blanched almond flour
3/4 C. cacao powder
1/2 tsp. salt
1/2 tsp. baking soda
3/4 C. honey
6 eggs
1 TBS pure vanilla extract
8 TBS butter, softened

1 quart ice cream, any flavor (see below)

For the cupcake layer:
Preheat oven to 350F. Thoroughly oil two cupcake pans.

Using a metal whisk, combine almond flour, cacao powder, salt and baking soda in the bowl of a stand mixer until well-mixed.

Add honey, eggs, and vanilla to bowl. Then, using the paddle attachment of stand mixer, combine on medium speed until wet ingredients are incorporated into dry.

Finally, add the softened butter and combine on medium speed until fully incorporated.

Pour mixture into prepared cupcake pans, filling each cup about 3/4 full. Bake in preheated oven for 14-16 minutes, or until a toothpick inserted in center comes out clean.

Cool in pan on wire rack for 10 minutes. Then, using the edge of a small spatula, loosen cupcake around edges until you can feel it release completely from pan. Carefully remove onto wire rack to cool completely.

For the ice cream layer:
Ice cream layer suggestions...

Mint Chip Ice Cream by Danielle at Against all Grain


Double Chocolate Ice Cream with Peanut Butter Swirl by Danielle at Against all Grain


Line two cupcake pans with plastic wrap. You can either use one big sheet and push down to layer inside each cup, or cut small plastic wrap squares for each cup.

Scoop out approximately 1/4 cup of ice cream into 16 cupcake slots. Press down to flatten and spread out, filling bottom of cupcake slot. Wrap entire cupcake pan tightly with a double layer of plastic wrap and place in freezer until ice cream is hard.

To assemble sandwiches:
Remove prepared ice cream in cupcake pans from freezer. Slice each cupcake in half horizontally. Place a disk of frozen ice cream on bottom layer of cupcake and sandwich with the top layer. Serve immediately or wrap tightly in a double layer of plastic wrap and store in freezer until serving time.

Optional:
To create a large ice cream cake, simply pour batter into two prepared six-inch cake pans and cook for 25-30 minutes at 350F. For ice cream layer, line two six-inch cake pan with plastic wrap and fill halfway with ice cream. Freeze as directed above. Slice cake in half, sandwich ice cream between. Serve immediately or double-wrap and freeze until serving time.


Friday, July 06, 2012

Realistic Cake Pops: Guest Post from Tales from the Motherhood

Today you have the pleasure of hearing from one of my blogging friends, the always hilarious Wendy Hagen. With so many grain-free recipes being shared this week, I figured you all needed a break. I've tried to make cake pops before, and let me just say, I'm glad Wendy is keepin' it real. With no further ado, here's a little bit about Wendy...


When Wendy was nine-years-old she looked in the yellow pages, found a talent agency, and called and left a message letting them know that she was ready to be on television. Unbeknownst to her parents. That started her acting career which eventually led her to Hollywood as a teenager where she starred in The New Lassie and guest starred on The Wonder Years and Growing Pains. She left Hollywood and headed back to the Bay Area to finish out a normal senior year of high school. 

Wendy went on to UCLA where she was on the dance team, in leadership with Athletes in Action, and met her husband of 13 years -- Shiloh. Wendy no longer gets paid for entertaining, but she is constantly entertaining her eight-year-old Elijah, her very strong-willed five-year-old Lydia, and her temperamental three-year-old Jordis.

Wendy and Shiloh live in the San Francisco Bay Area and are active at their church Cornerstone Fellowship in Livermore and lead a college/young adult life group at their home every week. Wendy loves Jesus and is passionate about sharing her faith and encouraging women in their faith and in the motherhood. She also loves blogging, Persian food, hot chocolate, So You Think You Can Dance, Settlers of Catan, and family vacations.

In a moment of temporary insanity and a lot of late nights Wendy decided to write a book of humor and encouragement for fellow moms and moms-to-be called Totally Desperate Mom: Keepin’ it Real in the Motherhood.


Right now the Plum District has a deal going on Wendy's book! Be sure to head over and get yourself this funny, engaging, uplifting read (and help a local women's shelter in the meantime). Check it out.


********


For Jordis's third birthday party I decided to make cupcakes and cake pops. Because I wanted to eat one or twenty. So I browsed recipes and got some tips from my Tweeps.

Here is the best of what I learned about cake poppin'.

But just know that to make picture-perfect cake pops like the ones you might see on a crazy baker web site or over at Crazy Crafty Christina's blog you will need a strong Type-A personality, special tools, the perfect dipping chocolate, and a fancy camera. I have none of those items, but I did borrow my sister-in-law's nice camera for the party.

So my recipe, if you will, is for . . .
Realistic Cake Pops
Good-Enough Cake Pops
Not-Necessarily-Perfectly-Round-or-Smooth Cake Pops
Most-Likely-To-Not-Be-Featured-on-Bakerella.com Cake Pops
Cake Pops for the Craftily Challenged

Here you go:

1. Make and bake a cake. Preferably not in an Easy-Bake Oven. Let your kids stir up the mix a bit cuz they will remember it fondly when they grow up.


2. Let it cool.

3. Take the cake out of the pan, bash it up, and put it in a large mixing bowl, not a fish bowl.
I did one batch of chocolate cake and vanilla frosting and one batch of yellow cake with chocolate frosting. Both of them were delicious and overly consumed by moi.

4. Add at least 1/2 of the tub of artery clogging, artificial everything frosting to the bashed up cake.
Special Tip #1 - Probably best to add a little more than 1/2 the tub of frosting. It makes for some good glue to hold the ball together and if you don't put enough in, they get a little cracky.

5. Mix the cake and frosting with a fork until you are bored. Then use your hands until it is thoroughly mixed and begging to be shaped into balls.

6. Roll that mixture into balls with your hands.


Let your kids help you with this, but don't expect the balls to be perfectly bally. But who cares? It's for a three-year-old's birthday party, not a magazine cover. Unless it's for a magazine cover - in that case just go buy the cake pops. Make the balls not too big, not too small. Maybe about the size of a walnut. Unless walnuts greatly vary in size (do they?). If that's the case, I don't know what to tell you.


7. Put the balls on a cookie/baking sheet lined with wax or parchment paper and put in your refrigerator for at least an hour.
Some internet peeps said to freeze, others said that freezing them was lame. Don't leave the balls in there for more than 24 hours or they begin to dry out.

8. Get some melting chocolates and put them on the stove in a non-stick pot to melt.
Special Tip #2: Don't use a stainless steel pot like I did with my first batch of purple melting junk. Because well, it just doesn't work and I had to toss it.

9. Dip the tip of fancy sticks you bought from a craft store or ones you collected from the tootsie pops your kids just ate, into the melted chocolate and then stick it about half way into the ball.

10. Stick all the balls (now with sticks in them) back in the fridge so that chocolate, (which acts like glue, but won't get you high), will harden.


10. After a few minutes, take out one pop at a time and begin the arduous dipping process. And by dipping I mean DON'T DIP!
Use a spoon to drip the chocolate onto the ball. Get it all over that bad boy. I am sure the unrealistic cake pop recipes have a fancy way of doing this so the chocolate goes on perfectly smooth. But I am sure that is more time consuming and stressful so just get the surface of the ball covered and move on with your life.

11. After the ball is unevenly lathered with the melting chocolate then shake on your sprinkles, chocolate chips, shards of glass, or whatever else you think would make a great topping for your pops.

12. Stick the pops in a flat piece of styrofoam.
We always throw away styrofoam when it comes in packaging because our cats eat it and then puke it up. (Who says styrofoam is not recyclable? Tell that to my cats.) Therefore, I had to buy a piece of styrofoam at the craft store . . . perhaps the most painful part of my cake-pop journey.


I made a cake-pop bouquet with some of the cake pops (on an $8 styrofoam ball!) and covered others with treat bags and ribbon as party favors.


Special Tip #3 If you make your balls too big or they won't fit into the treat bags and you will have to eat them right there on the spot.


The birthday girl loved the cake pops = success!


The birthday girl's mom loved the cake pops = cake pop booty.


The cake pops were time consuming to make, but if you follow my special tips and don't expect perfection then they are not difficult to make. My goal is to never to make them again simply because they tasted incredible and I ate too many and I don't want to get fat and have health issues.

*********

The giveaway is STILL going strong, through July 9th! Enter to win: 1) two grain-free cookbooks for all your birthday (and everyday) baking needs; 2) a birthday party giveaway to Mel's shop including an invite design, 25 invites w/envelopes, 25 cupcake toppers and 25 favor tags or stickers. Two lucky winners! 

Leave a comment on this post in order to be considered. Answer me this: when it comes to crafty, where do you fall on a scale of "realistic" to Martha? (Me, I like to pretend I'm a Martha but when it comes down to it, I'm too lazy to always follow through. Probably halfway between the two.)

Thursday, July 05, 2012

in search of the perfect grain-free birthday dessert: Neapolitan Cake


In search of the perfect birthday dessert, I nearly stopped at this cake. Three layers of cake: chocolate, strawberry and vanilla. Three types of frosting, coating and filling the cake. Fresh strawberries. Cacao. Honestly, this is one of the very best grain-free desserts I've made to date.


Nobody can say for sure who came up with the genius that is now known as Neapolitan. Many sources credit the Naples region of Italy, as reflected in the name. It may have originally referred to various kinds of flavors of ice cream side by side before morphing into our traditional chocolate-strawberry-vanilla version of today. Regardless of where credit is due, it's safe to say that most of us are quite happy with any opportunity to sample three cakes in one slice.


The inspiration for this cake came from both Roost and i am baker. (If you aren't already checking out those blogs, you must. Amazingly talented women). All of the layers were based on Roost's original recipe but with my own additions. If you were to ask me which layer I like best, I'd hem and haw for several moments before telling you I'd make all of them again. However, the strawberry layer is the most moist while the chocolate layer is the one I couldn't seem to stop sampling.


I served this cake to a mixed panel of grain-free and grain-indulgent folks in our missional community. Everyone loved it, even my husband who regularly partakes of desserts made of real sugar and white flour. I'd say it's a hit!

Neapolitan Cake
adapted from original recipe by Roost and inspiration from i am baker
serves 10-12

Vanilla Layer
1 3/4 C. blanched almond flour
1/4 tsp. salt
1/4 tsp. baking soda
3 TBS honey
3 eggs
1/2 TBS pure vanilla extract
1-2 vanilla beans
4 TBS butter

Strawberry Layer
1 3/4 C. blanched almond flour
1/4 tsp. salt
1/4 tsp. baking soda
1/4 C. honey
3 eggs
1/2 TBS pure vanilla extract
3/4 C. strawberries
4 TBS butter

Chocolate layer
1 3/4 C. blanched almond flour
1/4 C. cacao nibs
1/4 tsp. salt
1/4 tsp. baking soda
1/4 C. honey
3 eggs
1/2 TBS pure vanilla extract
4 TBS butter, softened

Frosting
4 room temperature egg whites
squeeze of fresh lemon juice
1 C. honey
1/2 C. strawberries, finely diced
1/4 C. raw cacao nibs, finely chopped

Preheat oven to 350F. Grease three 6-inch round cake pans. Trace the bottom on parchment paper, cut out circles, and place in bottom of pans.

For the vanilla layer:
Melt 4 TBS butter in a small saucepan over medium heat until light brown and fragrant. Remove from heat.

Combine dry ingredients (flour through soda) in a small mixing bowl with a whisk. Set aside.

In a food processor, combine honey, eggs, and vanilla extract. Scrape seeds from vanilla bean pods and add to processor. Process until smooth. Add flour mixture and process again, scraping down bowl with spatula as needed. Lastly, process in melted butter. Pour into one of the prepared pans.

For the strawberry layer:
Melt 4 TBS butter in a small saucepan over medium heat until light brown and fragrant. Remove from heat.

Combine dry ingredients (flour through soda) in a small mixing bowl with a whisk. Set aside.

In a food processor, pulse 1/2 cup strawberries until pureed. Add to the processor: honey, eggs, and vanilla extract. Mix well. Add flour mixture and process again, scraping down bowl with spatula as needed. Lastly, process in melted butter. Pour into one of the prepared pans.

For the chocolate layer:
Finely grind cacao nibs in a coffee grinder until powdery. Combine cacao powder and rest of dry ingredients (flour through soda) in a small mixing bowl with a whisk. Set aside.

In a food processor, combine butter, eggs, vanilla extract and honey. Mix well. Add flour mixture and process again, scraping down bowl with spatula as needed. Pour into one of the prepared pans.

Bake all three layers for 25-30 minutes, checking at about 22 minutes for doneness. Each cake will finish baking at a slightly different time. Remove when a toothpick inserted in center comes out with just a few crumbs attached.

Allow cakes to cool for 10 minutes in pan, then gently remove to a wire rack and allow to cool completely.

For the frosting:
Place egg whites and lemon juice in an electric stand mixer fitted with the whisk. Process on medium-high until stiff peaks form (takes anywhere from 5-10 minutes). Meanwhile, bring honey to a boil in a medium saucepan. When stiff peaks have formed, with the mixer running, very slowly pour hot honey into bowl. Beat until thoroughly combined, about a minute more.

Frosting must be used immediately or placed in refrigerator. If you choose to decorate the cake, keep it stored in the refrigerator until serving time.
To assemble the cake:


Separate frosting into two equal halves. Set aside one half in fridge. Halve remaining frosting once more into two separate bowls. Gently fold in, with a rubber spatula, strawberries into one bowl and cacao nibs into another.

Place chocolate layer on cake stand. Frost top with cacao nib frosting. Stack strawberry layer on next. Frost top with strawberry frosting. Finally, place vanilla layer on top. Frost sides and top of cake with the plain frosting, piping decorations if desired.

Optional:
Stir in cacao powder (use coffee grinder) to make a chocolate-tinted frosting for decorating bottom layer.

Halve additional strawberries and place in pattern around middle of cake (strawberry layer).

*********

Two giveaways going on through July 9th! Enter to win: 1) two grain-free cookbooks for all your birthday (and everyday) baking needs; 2) a birthday party giveaway to Mel's shop including an invite design, 25 invites w/envelopes, 25 cupcake toppers and 25 favor tags or stickers. Two lucky winners! 


All you need to do is leave a comment to be entered! Answer this question: 
Chocolate, Strawberry or Vanilla?

Wednesday, July 04, 2012

Party Planning like a Pro: Guest Post by Mel of The Larson Lingo

My good friend Mel from The Larson Lingo is our guest blogger today. I can think of no better person to post on the 4th of July, as Mel is a party-planner extraordinaire! My kids have been invited to many a Larson party and each and every one gets better; every detail well thought-out and beautiful. I hope you enjoy her helpful and thorough post. Read all the way to the bottom for a chance to be entered in TWO awesome giveaways. But first, a bit about Mel:


Mel is married to her best friend Kevin. She loves Jesus, her family, photography, soccer, coffee and wine. Mel is a full-time mommy to two girls with Baby #3 due next month. She is a part-time 7th grade teacher and soccer coach. Mel also designs birth announcements, invitations and holiday cards in the wee hours of the night. Boulder the wonder dog completes their family. Welcome Mel!


*********
was thrilled when Becky asked me to post for her birthday week. I love Becky & I love Birthday parties!

My love for planning parties exploded after I had my first daughter, Kate. I had so much fun planning her first birthday party and since then, my love for parties has increased 10 fold. I thought I would share some party planning tips that I have learned over the past 5 years of planning birthday parties. These will work if you are planning a small party or a larger party.


1. Pick a theme
I am all about the theme. I try and pick a theme that is reflective of what my girls like at that time in their life. I give them suggestions on what their party theme could be and sometimes they go with it and sometimes they pick something totally different. For example, for Kate's 4th birthday, she wanted a Cinderella party. I am not a fan of the "commercialized" themes but she was all about Cinderella and no other party theme would do, so of course we had a Cinderella party. I didn't use a lot of Cinderella decorations, but mostly used the Cinderella blue & purple (to incorporate Kate's favorite color)

When you pick a theme, it helps with the party planning because:
1. It focuses on what your child likes at that age (and will be fun to look back on)
2. It gives you direction & focus for the party
3. You can get creative with decor, food & games for the party if you have a theme

2. Invitations


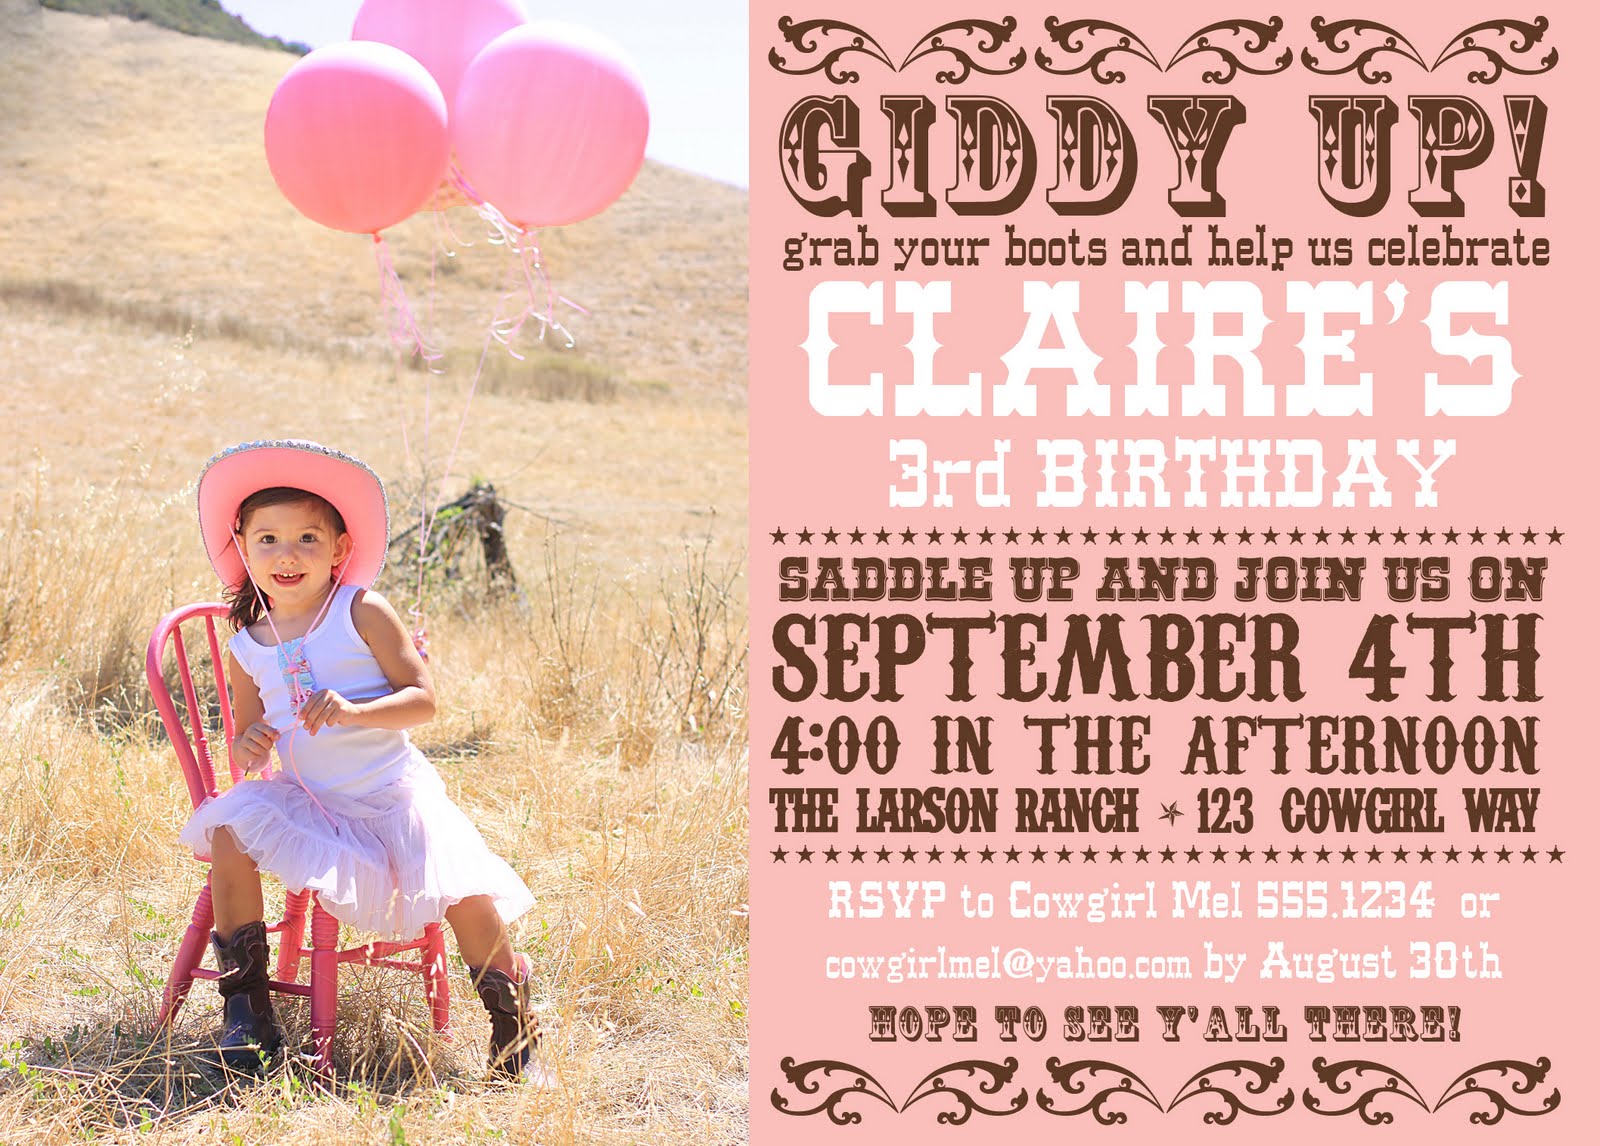
Once you have your theme, it's time to send out invitations. To me, the invite sets the tone and gets people excited for the party. You can make your own invites, send out an evite or order one. I learned how to make my own invites in photoshop, but if you don't know how to do that, you can make some with scrapbooking supplies or order them online. I like including a photo on my invites (mostly so that I can look back & see how my girls have changed over the years). Don't know how to make your own? No fear...stay tuned for a giveaway from my Etsy shop at the end of this post!

3. Plan Ahead
I am some what obsessive about planning parties for my girls. I will start planning them in my head 9 months before their birthday. (Yes, I know I am crazy). Once we have a theme picked out, I keep my eye out for things on sale/clearance the months before the party. For Kate's Cinderella Party, I was able to get Cinderella books in the $1 spot at Target 4 months before her party. These were the perfect party favor for her guests. And, for her Rainbow Art party, I got markers, crayons & notepads for $.50 during Target's Back to School Sale (6 months before her party!)

I also keep a list of what needs to be done for the parties in a notebook. This way I can map out things I need to get done ahead of time.
6 weeks before the party I make the guest list, create the invites & go shopping for party goods like plates, napkins & cups.
1 month before the party, I mail out the invites.
2-3 weeks before the party I make the cupcake toppers, food labels, favor tags & other decorations.
1-2 weeks before the party, I have the favors & favor tags ready to go.
The week of the party is spent with last minute prep & food shopping.
The night before the party, I usually stay up WAY too late getting last minute things done, like food prep & cupcakes. But as I throw more parties, I am getting my groove down and not leaving as many* things to the last minute.
The more I plan ahead, the more relaxed I am (and my family is) on party day!

4. Location, Location, Location.
Before we moved to our current house (2 years ago) I always had my girls' parties at locations other than our house (our old house was small & had a tiny backyard). So, I used other locations like my parents house, the park, our neighborhood clubhouse & an indoor bounce house place). But, for the past 2 years, the girls' parties have been held at our house. I prefer having the parties at my house (but I know other people who avoid having parties at their house so they don't have to deal with the clean up, which, I agree is fabulous)
The reason I like having them at my house is so that I don't have to lug stuff from my house to the party place. I like having everything I need at my house & it allows me to focus more on the little details of the party (food labels, dessert tables, etc). I LOVE doing dessert tables!

Again, this is personal opinion, so to each her own!

5. Know your Limits & Have Fun!
If party planning & throwing parties for your kids stresses you out, then don't go overboard.
Many times people have asked me how I handle throwing parties for my girls.
The reality is, I thrive on throwing parties. I LOVE it. It doesn't stress me out at all.
I enjoy spending hours on pinterest getting party inspiration.
I love thinking of all the little details to make each party special.
I love seeing the theme come together.
I love creating all the handmade food labels & cupcake toppers.
I love when my girls tell me they had the best day ever at their party.
If this type of thing just adds stress to your life, then know your limits and keep the party simple so that you aren't overwhelmed!

You can click HERE to see all the parties I have thrown in the past 5 years.

Again, there is so much more I could expand on, but these are 5 little tips that will help you with your next party! And, to make your life even easier, I am offering a giveaway to 1 lucky reader!


The winner will win an invite design from my etsy shop, 25 invites/envelopes, 25 cupcake toppers & 25 favor tags/stickers.


Hooray for Birthday Parties!


*********

Another day, another chance to be entered in the big birthday giveaway! Leave a comment on this post to be entered in a chance to win two awesome cookbooks. 

AAANNDDDD...bonus giveaway, starting today! One lucky commenter will be awarded the giveaway to Mel's shop in addition to being entered in the cookbook giveaway. Leave a comment below for a chance to win a giveaway to Mel's etsy shop.

Answer this: party planner or party pooper?

Tuesday, July 03, 2012

in search of the perfect grain-free birthday dessert: Coconut Cake


The other night I really wanted something sweet. Something delicious. Something, well, like cake. When I realized I had all the ingredients for a recipe in one of my books, I got to baking. My hubby is totally used to this now. I had just finished cleaning the kitchen from dinner and there I was, back at it, almond flour flying left and right as I whipped this up. All for myself. 


It has a great consistency, much like a regular cake. It is moist and full of flavor. I only wish that the "frosting" had turned out more of a whipped variety and less of a syrupy glaze. The real star of this cake is the delicate coconut-infused crumb of the cake. Delicious.


Coconut Cake
from Kendall Conrad's Eat Well, Feel Well


Makes one 8-inch layer cake, serves 10-12.

Cake:
4 cups blanched almond flour
1 cup honey
2 tsp baking soda
1 tsp salt
4 TBS unsalted butter, softened, or 1/4 cup coconut oil, plus extra for greasing the pans
1/2 cup canned unsweetened coconut milk
1/4 cup homemade yogurt
3 large egg whites
2 tsp pure vanilla extract

Frosting
1 cup honey
1/4 cup canned unsweetened coconut milk
2 TBS unsalted butter
1 tsp pure vanilla extract

3 cups grated unsweetened coconut.

For the cake:
Preheat oven to 300F. Line the bottom of two 8-inch round cake pans with parchment paper. Use butter or coconut oil to thoroughly grease paper and sides of pans.

In a food processor, mix together flour, honey, baking soda and salt until blended. Add butter and coconut milk and mix well, stopping to scrape down sides of bowl as needed. Add yogurt, egg whites and vanilla last. Mix well until very smooth. Pour into cake pans and smooth the tops.

Bake for 40 minutes, or until cakes are golden and springy and a toothpick inserted in center comes out clean. Let sit in pan for 10 minutes before removing from pan and cooling on rack. Let cool completely before frosting.

For the frosting:
Place the honey, coconut milk, butter and vanilla in a food processor and process until smooth.

To assemble:
Place one of the cake layers on a serving dish. Spread/pour half of frosting on the cake and sprinkle with 1 cup grated coconut. Place second layer on top. Spread remaining frosting, allowing it to spill over sides. Sprinkle with remaining coconut.

Cake will keep for 2 days covered.


***Notes:
I made a half recipe in two 6-inch pans. I checked the cakes after about 30 minutes and removed them after 33-34 minutes of baking.

I used coconut oil instead of butter for an even more intense coconut flavor.

*********

Leave a comment today to be entered in the birthday week giveaway! For a chance to win two of my favorite grain-free cookbooks, answer this question: if you had to choose, would you eat the cake or the frosting?

Monday, July 02, 2012

Happy Birthday to Me! (& special bday week giveaway!)

My 34th birthday is one week from today, and every day for the next week I'll be sharing birthday-themed posts for your reading pleasure. Coming up:

recipes from my search for the perfect grain-free birthday dessert...


...and a fabulous giveaway! 


The Gluten-Free Almond Flour Cookbook by Elana Amsterdam and
Eat Well Feel Well by Kendall Conrad

To enter, simply leave a comment (one per day) between now and July 9th. Check back every day for new birthday material and earn up to seven chances to win my two favorite grain-free cookbooks! The winner will be selected at random and announced at the week's end.


Hope to see you back here tomorrow! (and don't forget to comment)

Sunday, July 01, 2012

twelve

Dear Ben,


Every month I get to write two letters: one to our precious daughter and another to our adorable son. Approaching what will be our twelfth anniversary, I realized one of the most valuable gifts I could give you this year is the gift of your own letter. So here you have it, my love: a list of just some of the things I love about you...


Of first importance, I love how Christ is growing in you. In the past few years I've seen you grow in grace, in love and compassion, in true empathy, and in gentleness. In many ways God is growing and maturing you into the pastor you've always wanted to be: not just a man after God's own heart but a man who embodies God's heart to men and women. It is with great joy and incredible gratitude that I've watched the transformation take place. It is so beautiful.


I love your laugh, one that's known for rousing children from deep sleep and giving pause in a crowded space. I love that I can hear it booming from rooms away, echoing down halls and up staircases.

On that note, I love your laugh lines. I adore the way they crinkle up at the corners of your eyes, bearing witness to decades of smiling and a life filled with great joy.

I love your heart for our neighbors. A few years back you challenged me to open my heart and our home to those in our neighborhood, not seeing our home as a sanctuary but as an outpost. Since then we've developed a revolving door; people are constantly in and out of our home, and I'll never look back. Loving folks by opening up our home is easier than I thought and more meaningful than I'd ever expected.

I love your strong, sexy forearms. Sometimes when we're out and you're engaged in a conversation, I find myself gazing at your strong arms and thinking how grateful I am that at the end of the day, those arms find their way around me.

I love your passionate, focused personality. Though I often poke fun, it is your single-mindedness and hyper focus that has brought our family delicious home roasted coffee, better-than-bbq smoked tri tip, the most-researched, highest-rated appliances, tastiest wines, most efficient apps, and much, much more.

I love how you lead our family. You model the importance of prayer in our everyday lives. You are quick to seek reconciliation when there has been conflict. You demonstrate Godly repentance and create an environment in which we all desire to do the same.

I love that you are an extrovert leading a family of extroverts. Our family can be out most nights of the week, and though we're tired by the end, we are energized, encouraged, and ultimately, better for the times we've spent in community with others.

I love how you parent our kids, how you take Maddie on dates to Sideboard and really listen to her, which is what she needs more than anything else. I love that you totally get Sam and have no problem entering right into his little world of ninja fighting, wrestling, jabbering & snuggling. It warms my heart to no end that you welcome them into our bed morning after morning, joining me in what has become one of our favorite rituals of starting the day with cuddles.

It's not just that I love you, I really like you, too. Thanks for an awesome twelve years. Looking forward to dozens more.

Love,

Becky